The following is a guest post from our friends at I Spy DIY.

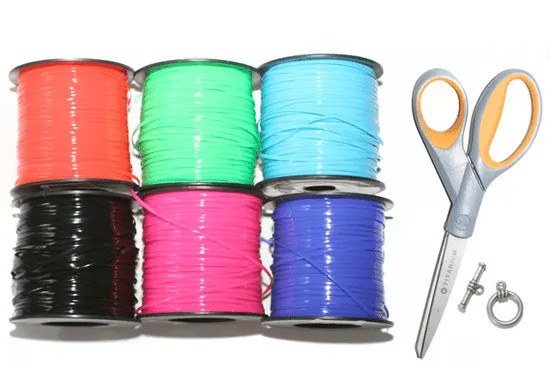
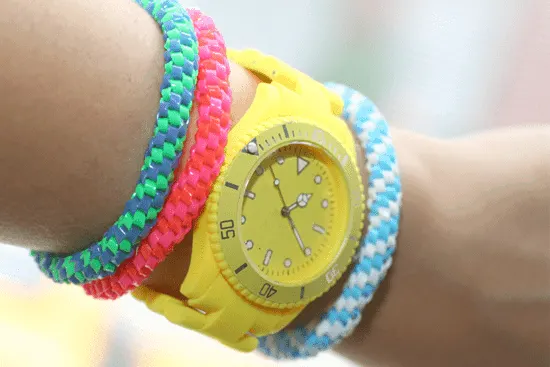
The amazing Jenni got together with a few friends during the hurricane that hit the east coast and made old school bracelets. She gives us the 411 on how to make these bracelets for yourself (without a major storm).
Supplies: Gimp, or Lester lace as we called in back in the day, from Blick Art (less than $2 a roll), scissors, and a fastener. Steps after the break…
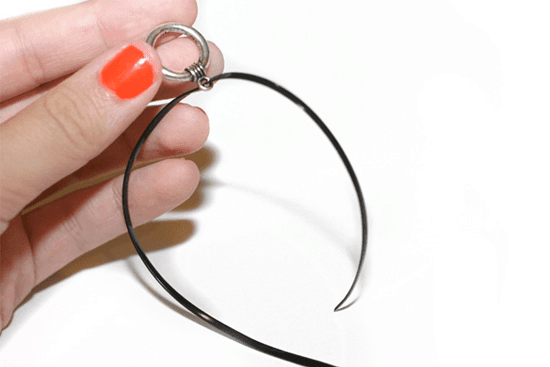
Cut two piece, each as long as your wingspan.
Start by threading the black strand through the fastener loop, and move it to the middle of the strand.
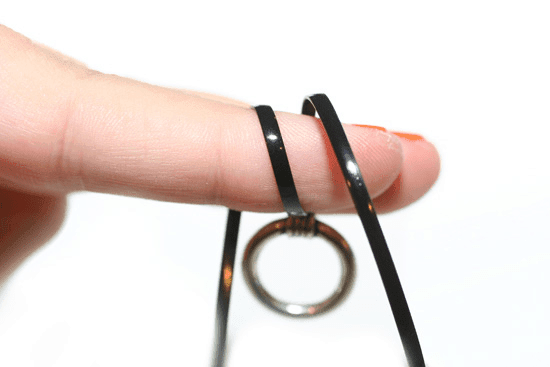
Wrap around the front and back of your finger.
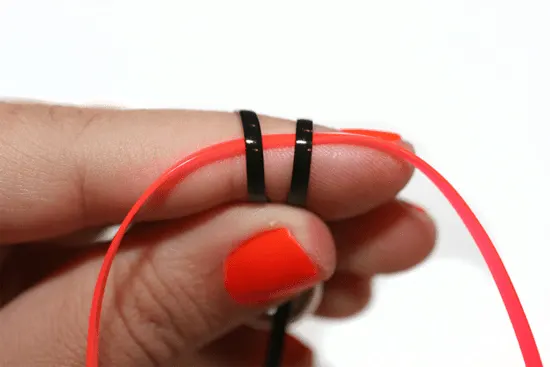
Take your orange string under both black loops, and put till you reach the middle of your orange strand
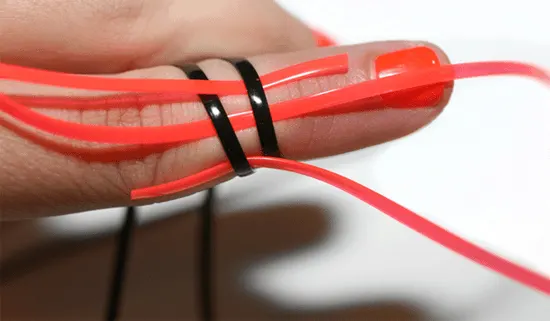
Next take the right end of the orange and go over and under in the front, and then take the left end and go over and under in the back.
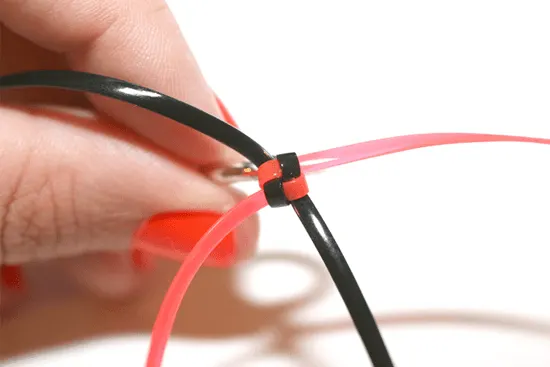
Pull slowly to create a square knot
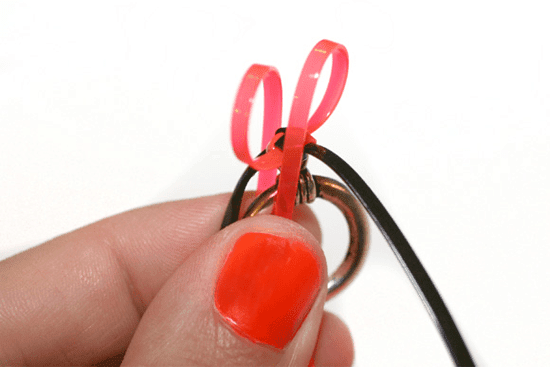
Next loop your orange pieces over the square knot diagonally
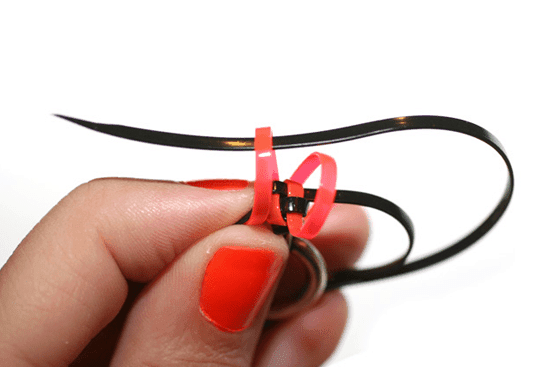
Thread the right end of the black through the orange hoop in the back, Thread the left black end through the orange hoop in the front.
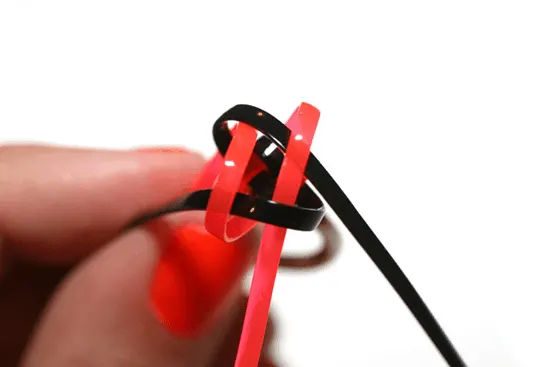
It should look like this as you pull the four pieces
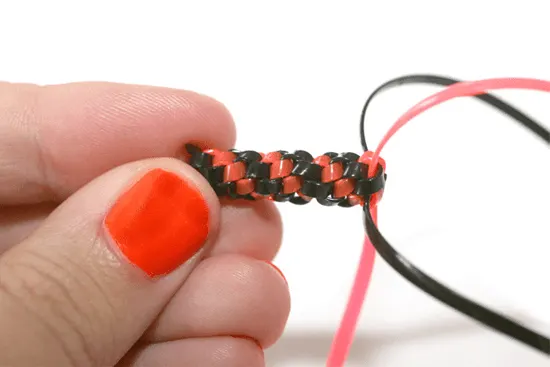
Repeat and the pattern should like this
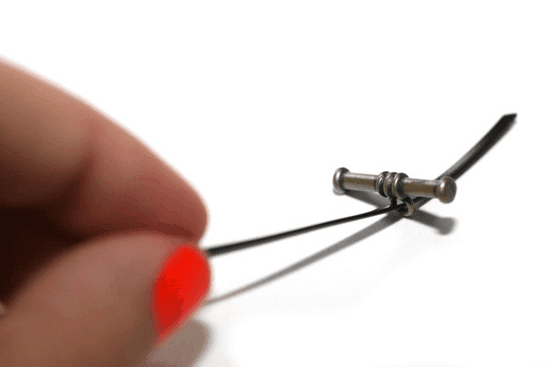
When your bracelet is long enough to fit around your waist, tie all four pieces in a knot at the end. Then thread one strand through the other end of the fastener
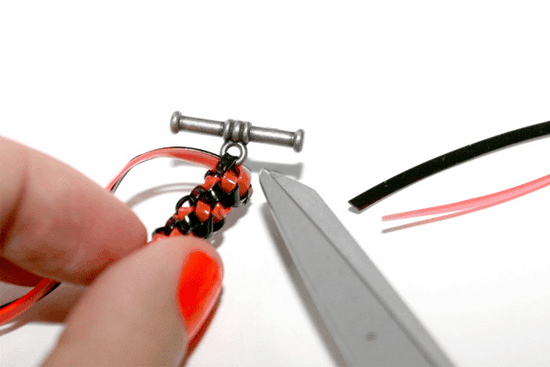
Tie the ends in another knot and trim ends.
nini
Tuesday 20th of September 2011
very beautiful. I am learning how to make one. thanks for sharing. haha
Babedoll
Sunday 18th of September 2011
this is really cool i just made 3 of them and there bueatiful
Nikki Dai
Monday 12th of September 2011
I used to make these in grade school. Great memories - thanks!