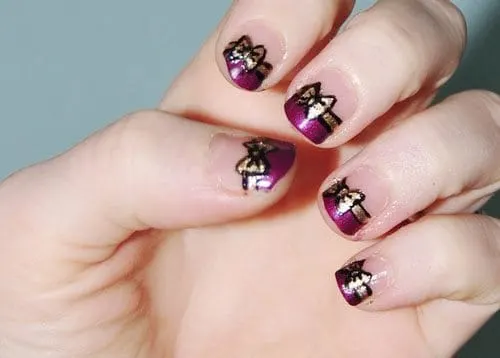
I’m not going to lie to you. This bow nail design takes a heaping spoonful of time and patience and, additionally, a steady hand.
This post may contain affiliate links*With that said, it can be done by anyone–and I do mean anyone–who possesses those qualities (and a tiny paintbrush, of course). It also helps if you have some good music or your favorite TV show playing while you paint away. Or you could try painting with a friend. That’s always a good time, too.
Anyway, enough rambling! When I painted this bow nail design, I became instantly obsessed with it and I know you will love it, too. You know it’s a good manicure if you’re distracted by your very own fingers on a minute-ly basis.
Bow Nail Manicure Tutorial
Step 1: Prep and Paint Tips

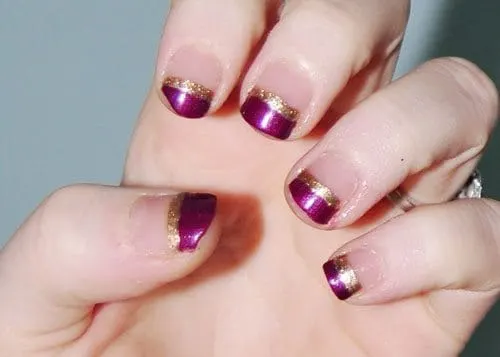
Prepare your nails by removing all old nail polish, buffing, filing and applying a cuticle oil. This keeps your cuticles in tip-top shape. Afterward, apply a clear base coat of polish. Begin your design by painting the tips one color. I chose plum because I thought it was fitting for the fall months. You don’t have to worry about perfect tips, since you’re going to paint over them in the next step.
Step 2: Paint Lines

Paint a thin line of your second color on the interior edge of the tip you just painted. You can use a striping tool or a small paintbrush for this.
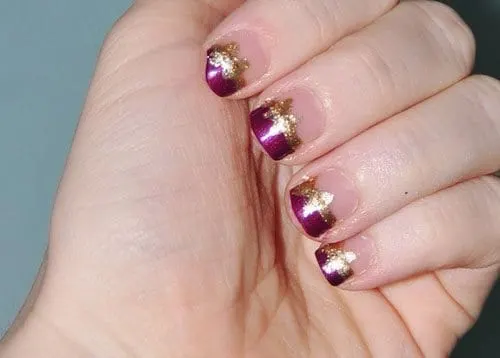
Step 3: Paint Triangles

Paint two inverse triangles on the right side of your line in the same color you painted your line. It’s a little hard to see in this picture, but they should essentially look like this: l>
Step 4: Outline with Black

Here’s the most time-consuming part of this nail design. Take your time and use a steady hand. Using the smallest brush you own, trace your line, your knot and the edges of your triangles. I placed two “crinkle” lines on each triangle for a more realistic effect. Follow up with a top coat and you’re good to go.
Zaggora Girl
Tuesday 30th of October 2012
Cute!!! How long did it take you to finish these beauties off :)?
wendyrgould
Wednesday 31st of October 2012
About an hour! :)