I’m a firm believer in having an organized, functional closet. When everything has a place, you know exactly where to look for, say, that boxy crop sweater you bought last season. You don’t lose track of garments, shoes, or accessories. And you have fewer morning panic attacks about the sad state of your wardrobe.
Life is better without those “I have nothing to wear” moments. Budgeting is better too. You have fewer impulse-shopping urges, and you make better use of the pieces you already own. That’s a closet-wide cost-per-wear upgrade, which could save you a bundle over time.
- Repurpose bookcases, kitchen cabinets, dressers, and other secondhand furniture.
- Use high shelves and matching bins for seasonal pieces.
- A well-organized closet can prevent duplicate purchases, encourage you to wear what you own, and lower your wardrobe’s cost per wear.
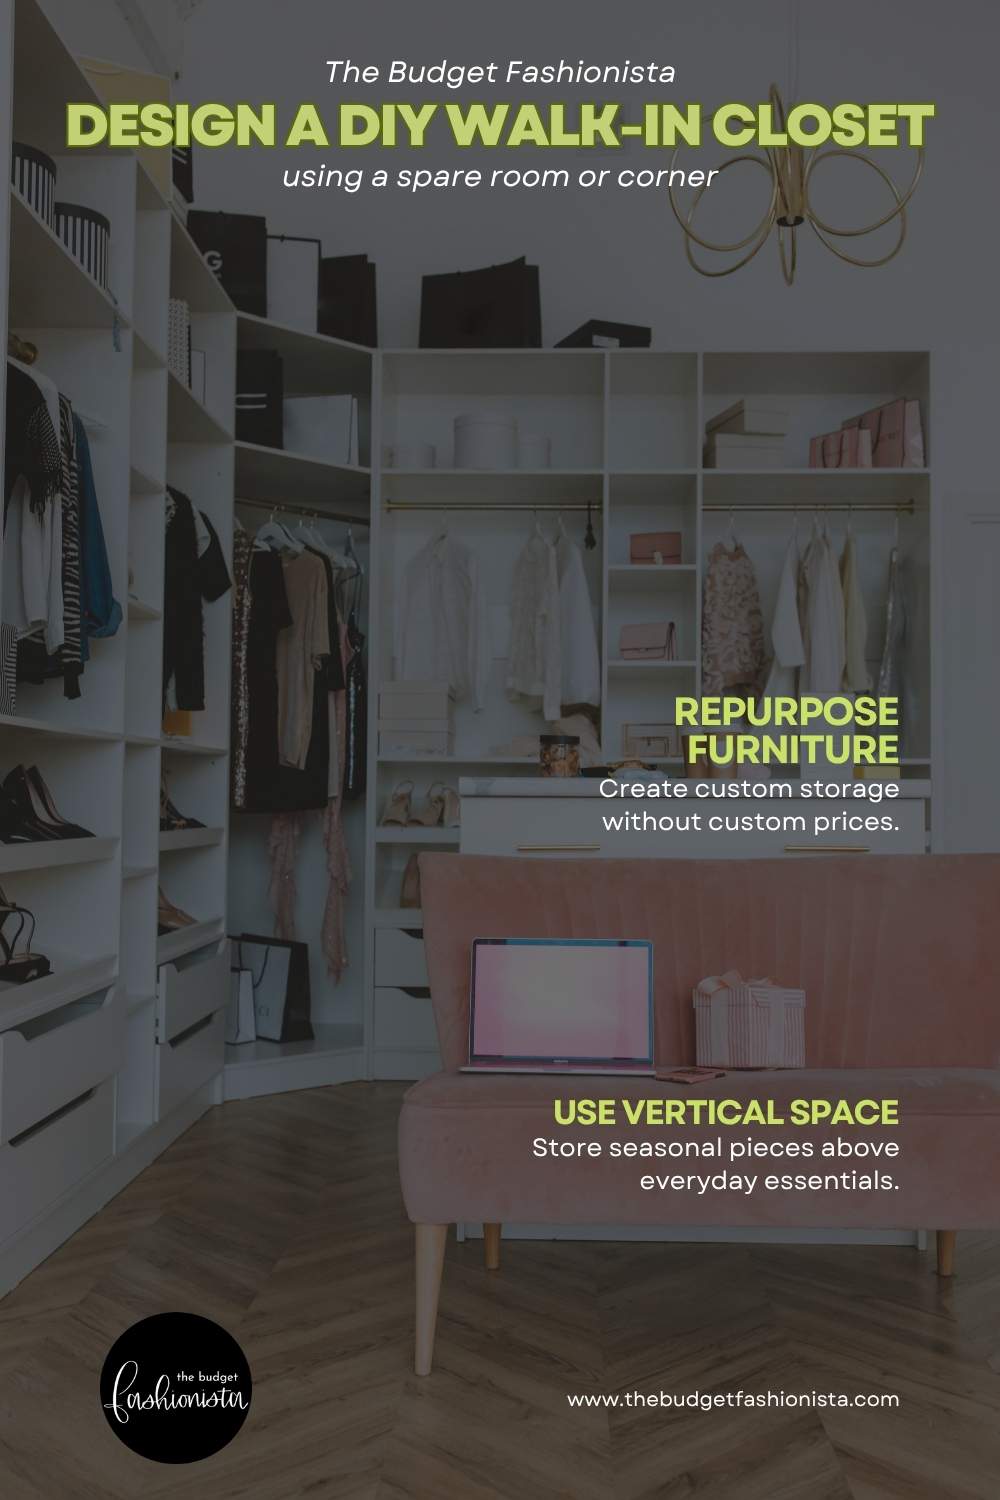
The savings probably aren’t enough to justify moving to a bigger house, but there’s another option. If you have a spare room (or even a spare corner) available, you could convert it into a custom walk-in closet in a few simple steps.
Read next: 15 cheap closet organization ideas that make getting dressed easier
1. Plan for the space you have
Your DIY closet project starts with finding the right space. A spare room with a door is usually the best option, but you could get creative with a tidy corner and a freestanding room divider. Start by taking a walk around your place and identifying potential spaces.
The right space will probably be obvious. It’s the one that offers some privacy and more room than your existing closet. Ideally, you want to create a functional space that stores your things and is large enough to be a fun dressing area.
Next, grab a tape measure and get the exact square footage of your room. This is your best defense against blowing your budget on pieces that won’t fit. It also keeps your design goals realistic.
Ideally, you want to create a functional space The shape of the space will guide the setup:
- Square rooms. These work well with an L-shaped or U-shaped layout.
- Narrow, rectangular rooms. Parallel, galley-style rows are the way to go.
2. Get that boutique vibe on a budget
You may want custom cabinets for your new closet space, but you don’t need them. That dreamy, high-end boutique look can still be yours without the hefty price tag if you’re willing to be creative. For example, you can:
- Buy bookcases from a garage sale. Add paint and molding.
- Connect two bookcases with a closet rod between them. Add a shelf above the rod.
- Install used kitchen wall cabinets near the ceiling.
- Install used kitchen bottom cabinets and top them with floating shelves.
- Repurpose old entertainment consoles or dressers. These are plentiful and cheap on Marketplace.
- Upgrade ugly flat doors on old cabinets by adding wood strips around the perimeter to mimic Shaker-style doors.
Remember to prioritize safety. Heavy, unsecured furniture is a major tip-over hazard that causes thousands of injuries every year. Plan on permanently anchoring all tall dressers and heavy shelving directly to your wall studs. Following the CPSC’s “Anchor It!” guidelines can prevent accidents and ensure your gorgeous new closet stays intact for years to come.
3. Maximize space up high
The vertical wall space just below the ceiling could be your storage MVP. Shelves hung high, paired with cute canvas bins or woven baskets can your hold out-of-season gear. You can tuck away bulky winter coats and cashmere sweaters when it’s hot outside. Swap those pieces out for tanks and sundresses when the snow falls.
Choose matching baskets or bins for a high-end look that minimizes visual clutter. If you don’t have these on hand, grab your tape measure again before you shop. Confirm the clearance of those upper shelves and calculate the volume of your shelf space so you end up with containers that slide in flawlessly. The few minutes it takes to do the math ensures you won’t waste money or those precious inches of shelf space.
4. Zone your wardrobe
The final step in your closet makeover is the most important: adding your clothes. This requires a strategy. Stuffing drawers and bins without a plan ensures you’ll quickly get frustrated with your new space.
You can organize by garment type, color, or occasion. I like to group my pieces by garment type and occasion. So I have a pants section and, within that, a work pants section. You may prefer to zone your closet by occasion or by season. Find the system that works for you and you’ll realize real benefits:
- No more duplicate buys. When your closet is perfectly organized and completely visible, you’ll stop buying another basic black blazer because you forgot you already had one.
- Lower cost per wear. An organized layout naturally encourages you to shop your own collection. Each time you wear a garment you lower its cost per wear. That’s how you turn past splurges into smart investment buys.
- Reduced fashion waste. Extending the utility of your clothes is an amazing way to combat textile waste. Eco-friendly and wallet-friendly? Yes, please.
The Budget Fashionista takeaways
Creating a chic dressing and storage area is a fun project and a smart financial move. If you use the space you have, get creative with secondhand furniture, and organize so you can see the clothes you own, you can lower the cost-per-wear on nearly everything in your closet. Even better, you’ll have a stylish space to inspire gorg outfit choices every day.