Paging Kelly Kapowski and Topanga Lawrence! These watercolor nails design I created is so ‘90s fab that I am not sure what to do with myself. And considering the fact that ‘90s fashion is so on-trend right now, I can’t imagine a better high-impact manicure than this one!
This post may contain affiliate links*Fact: I didn’t exactly mean to go full-blown ‘90s with this one. I think it’s the color combo that has me conjuring up thoughts of “Full House,” “Family Matters” and “Saved By The Bell.”
What I was actually going for was watercolor. I’m super-obsessed with watercolor paintings and wanted to create a similar effect on my fingernails. I employed a technique that I haven’t seen done before in an attempt to get that fluid-y, melty watercolor effect and was pleased with the results.
Watercolor Nails — the Tutorial
Anyone can create this look. You just need three to four nail polishes, a paintbrush and some nail polish remover. I used four colors: Zoya Shelby (pink) and Arizona (orange), Sinful Colors Why Not and NYC Prince Street.

After your base coat dries, apply a drop of nail polish to a piece of paper. I used an index card. Dip your paintbrush into the polish. You can find paintbrushes at the craft store, online or even at beauty stores. Alternatively, save and clean the brush of an old nail polish.
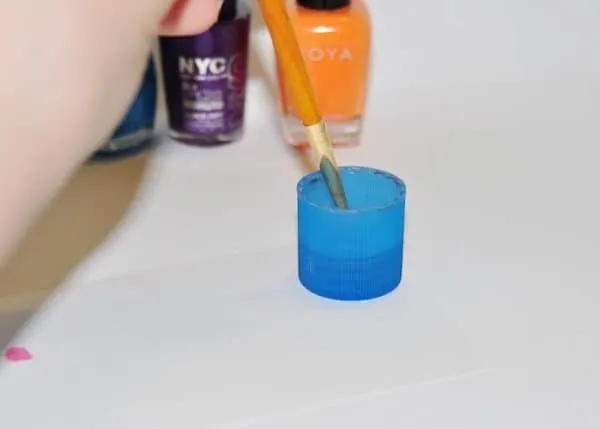
Dunk the polish-dipped brush into nail polish remover. A swift dip is all you need.
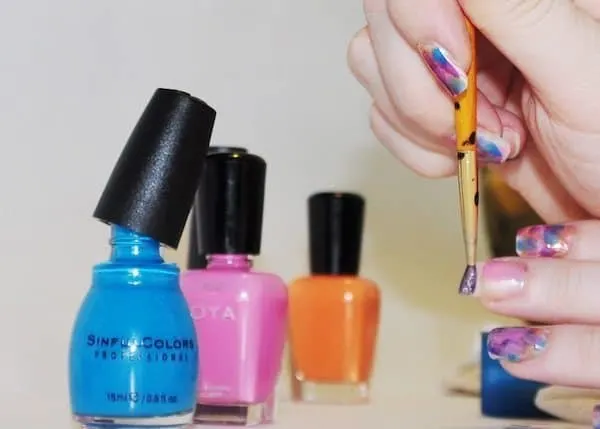
Press the thinned polish against your nail in several places.
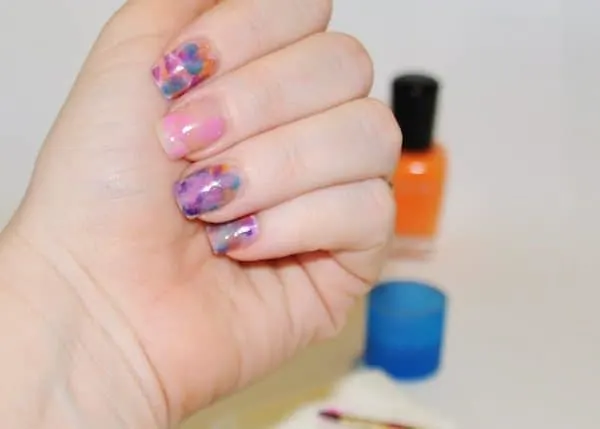
You may need to re-dip in polish and remover, but usually once is enough for each nail. Apply the polish strategically on the nail, as pictured here.
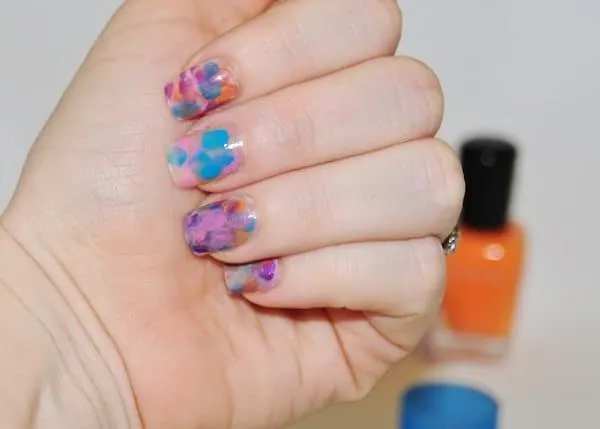
Repeat with your second color.
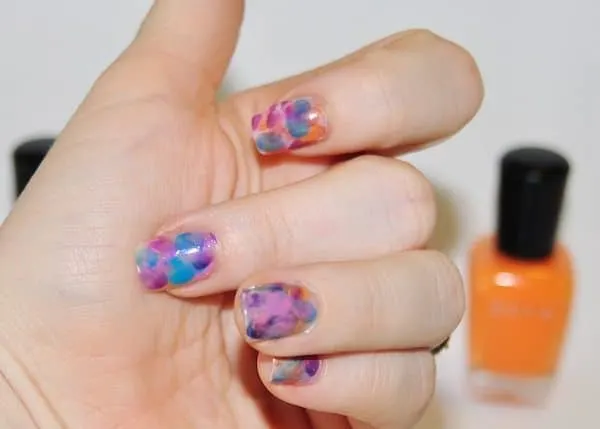
And your third color.
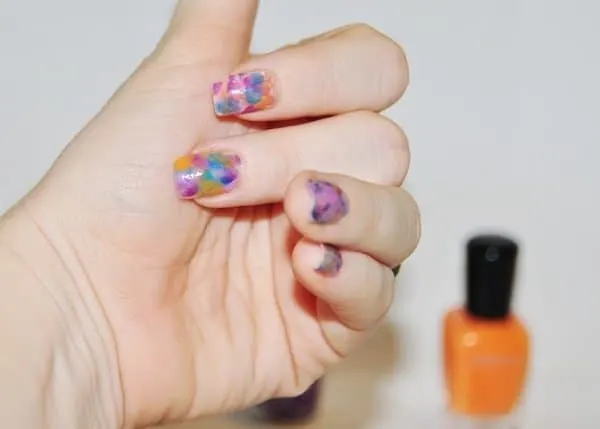
And your fourth color. Voila! Wait for the polish to dry and apply a topcoat.
Anna
Wednesday 26th of September 2012
great colors, I love it!
Anna
Wednesday 26th of September 2012
great colors, I love it!